How to Fix a Leaky Shower Head: Simple Steps That Save Water and Money
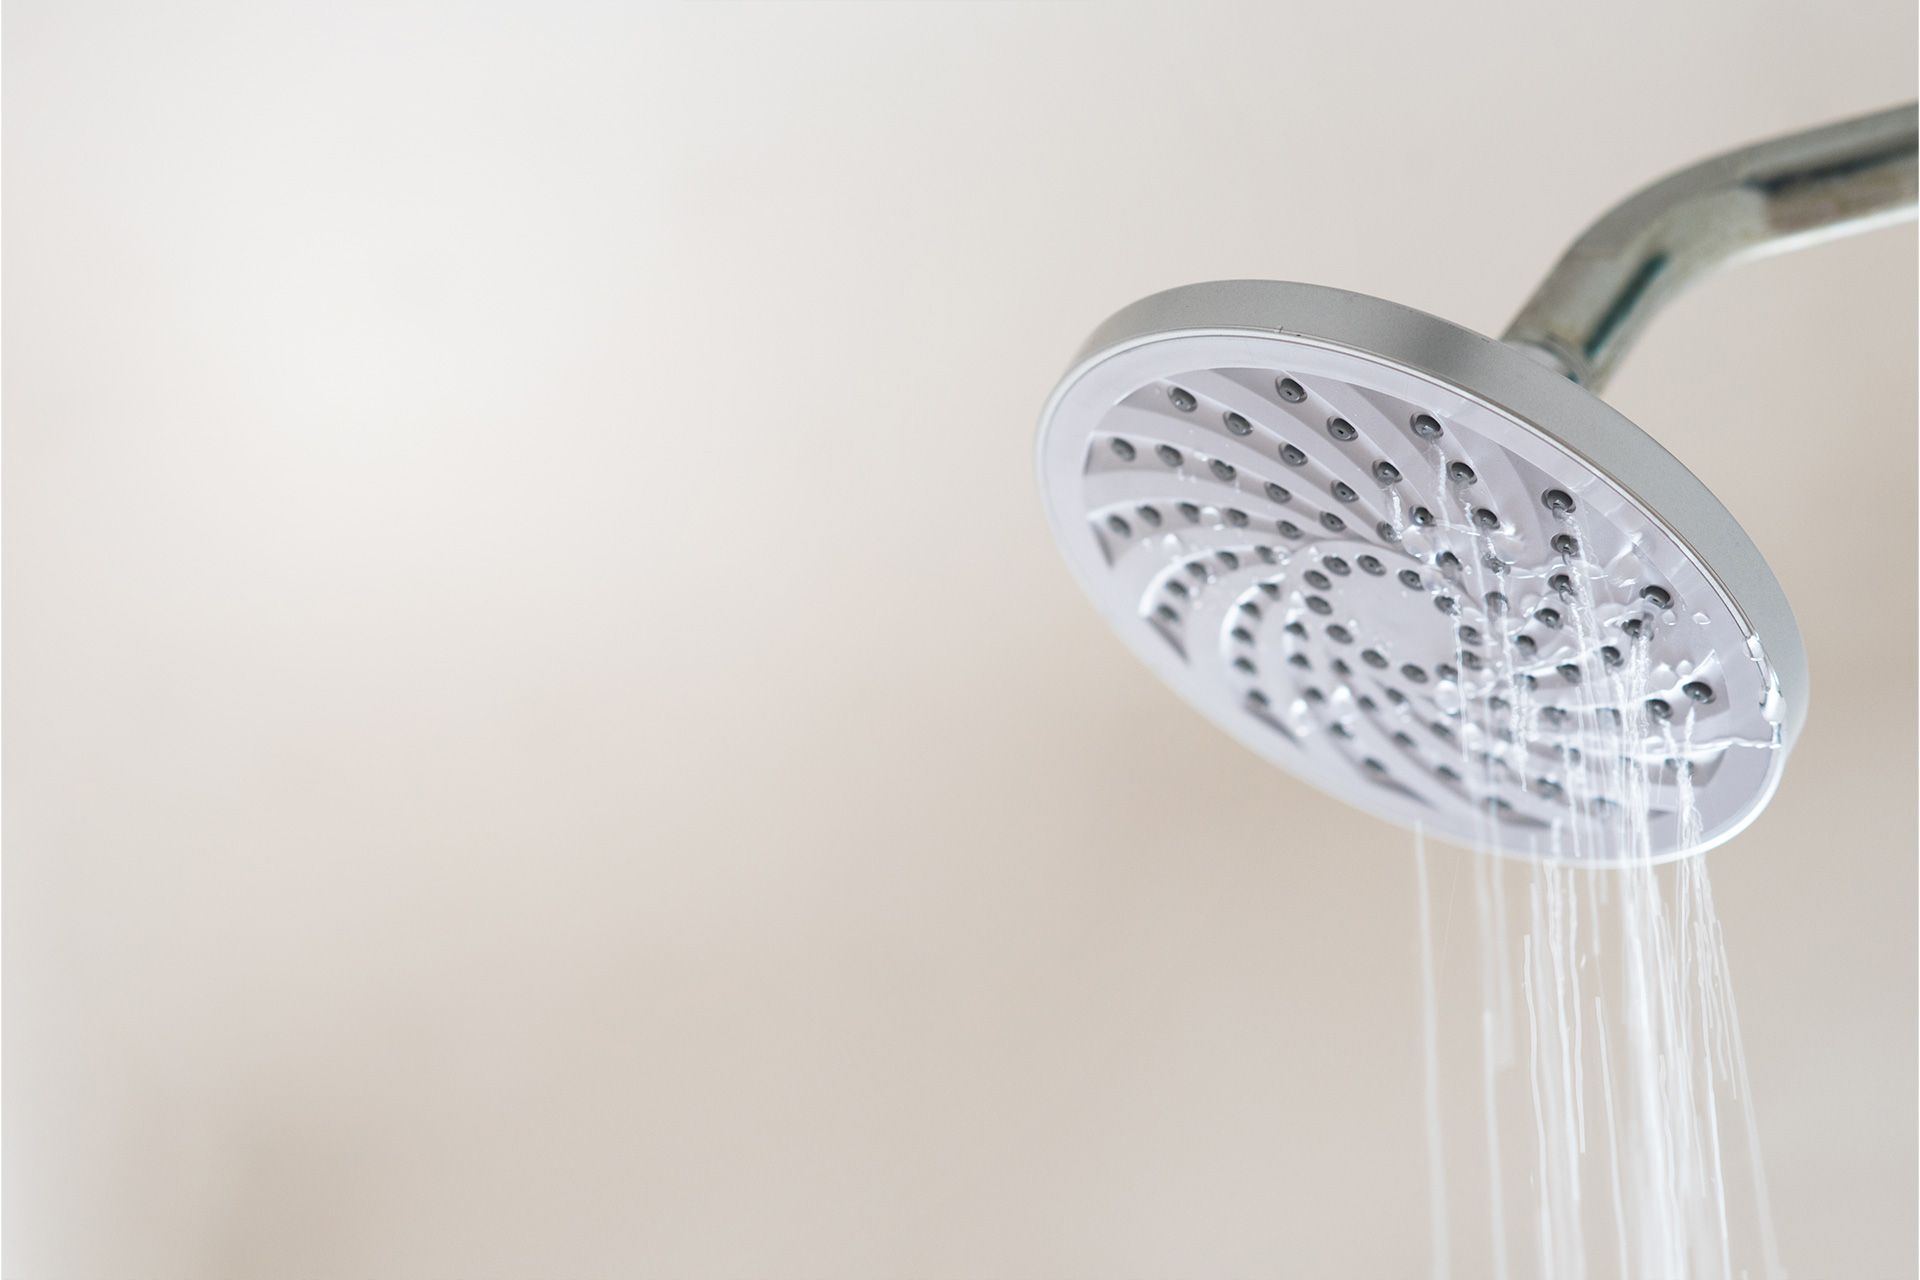
A dripping shower head may seem like a small problem, but it can waste a lot of water over time. If your shower head keeps dripping even when the faucet is turned off, it’s a sign that something isn’t working right. The good news is that most shower leaks are easy to fix, even if you’re not a plumbing expert.
In this guide, we’ll explain why a shower head leaks, how to fix it step by step, and when it’s time to call a professional. Fixing a leaking shower head can help lower your water bill, protect your bathroom, and give you peace of mind.
Why Is My Shower Head Dripping?
Before fixing the problem, it helps to know what causes it. A shower head leaking from head usually happens for one of these reasons:
1. Worn-Out Washer or O-Ring
Inside the shower head is a small rubber washer or O-ring. Over time, it can wear out, crack, or harden, causing water to leak.
2. Mineral Buildup
Hard water leaves mineral deposits inside the shower head. These deposits can block water flow and cause pressure buildup, leading to leaks.
3. Loose Connections
Sometimes, the shower head is not screwed on tightly. Even a small gap can cause a dripping shower head.
4. Damaged Shower Valve
If water drips even when the shower is completely off, the issue might be deeper inside the wall, usually a faulty valve.
Tools You’ll Need to Fix a Leaking Shower Head
You don’t need fancy tools to fix most shower leaks. Here’s what you should have ready:
- Adjustable wrench or pliers
- Old cloth or towel
- Teflon (plumber’s) tape
- Replacement washer or O-ring
- White vinegar
- Small brush or old toothbrush
Step-by-Step Guide: How to Fix a Leaky Shower Head
Step 1: Turn Off the Water
You don’t always need to shut off the main water supply, but make sure the shower handle is fully off. For extra safety, you can turn off the water to the bathroom.
Step 2: Remove the Shower Head
Wrap a cloth around the shower arm to protect it. Use a wrench or pliers to gently loosen the shower head by turning it counterclockwise.
Tip: Don’t apply too much force. Shower arms can bend or break.
Step 3: Inspect the Washer and O-Ring
Look inside the shower head for a rubber washer or O-ring. If it looks cracked, flattened, or damaged, it needs to be replaced.
You can find replacement washers at most hardware stores, and they are very affordable.
Step 4: Clean Mineral Buildup
If the washer looks fine, mineral buildup could be causing the shower head leaking from head.
- Soak the shower head in white vinegar for 30–60 minutes
- Use a small brush to scrub away deposits
- Rinse thoroughly with warm water
This step alone often fixes a dripping shower head.
Step 5: Apply Plumber’s Tape
Wrap Teflon tape around the threads of the shower arm 2–3 times. This helps create a watertight seal and prevents leaks.
Step 6: Reattach the Shower Head
Screw the shower head back onto the arm by hand. Tighten gently with a wrench if needed, but do not over-tighten.
Step 7: Test for Leaks
Turn the water on and check for drips. If there’s no leaking, congratulations, you’ve fixed your leaking shower head.
What If the Shower Head Still Drips?
If your dripping shower head continues after following these steps, the problem may be more serious.
Possible Causes:
- Faulty shower valve
- High water pressure
- Cracked plumbing parts
These issues usually require professional help, as they involve plumbing behind the wall.
How Much Water Does a Dripping Shower Head Waste?
A single drip per second can waste over 3,000 gallons of water per year. That’s water you’re paying for but not using.
Fixing a dripping shower head can:
- Lower your water bill
- Reduce water damage risk
- Help conserve water
Should You Replace or Repair the Shower Head?
Sometimes replacing the shower head is a better option.
Repair the Shower Head If:
- The leak is minor
- The shower head is in good shape
- Only the washer or buildup is the issue
Replace the Shower Head If:
- It’s old or corroded
- Cracks are visible
- Leaks continue after repairs
New shower heads are affordable and often more water-efficient.
Preventing Future Shower Head Leaks
You can avoid future leaks with a few simple habits:
- Clean your shower head every 3–6 months
- Use a water softener if you have hard water
- Avoid over-tightening fittings
- Fix small drips before they become big problems
Regular maintenance goes a long way.
When to Call a Professional
While many homeowners can fix a leaking shower head, some situations require expert help:
- Water drips even when the valve is fully off
- Leaks are coming from inside the wall
- You notice mold, water stains, or low water pressure
A professional can diagnose and fix the issue before it causes costly damage.
Final Thoughts
A leaking shower head is more than just annoying; it wastes water, raises bills, and can lead to bigger plumbing problems. By following these simple steps, you can fix most shower dripping issues quickly and affordably.
If your shower leak won’t stop or you want expert help, contact
Old School Cooling today for reliable home
plumbing solutions you can trust.
FAQs About Fixing a Leaky Shower Head
Why is my shower head dripping when the water is off?
This usually means a worn-out valve or washer. If replacing the washer doesn’t help, the valve may need professional repair.
Can a leaking shower head increase my water bill?
Yes. Even a small dripping shower head can waste thousands of gallons of water each year, increasing your bill.
How often should I clean my shower head?
Cleaning every 3–6 months helps prevent mineral buildup and reduces the chance of a shower head leaking from head.
Is it safe to use vinegar to clean a shower head?
Yes. Vinegar is safe, natural, and very effective at removing mineral deposits.
Do I need a plumber to fix a leaking shower head?
Not always. Many leaks can be fixed with basic tools. However, if the leak continues, calling a professional is the best option.
Disclaimer: The information on this website and blog is for general informational purposes only and is not professional advice. We make no guarantees of accuracy or completeness. We disclaim all liability for errors, omissions, or reliance on this content. Always consult a qualified professional for specific guidance.
Search Blog
Recent Posts